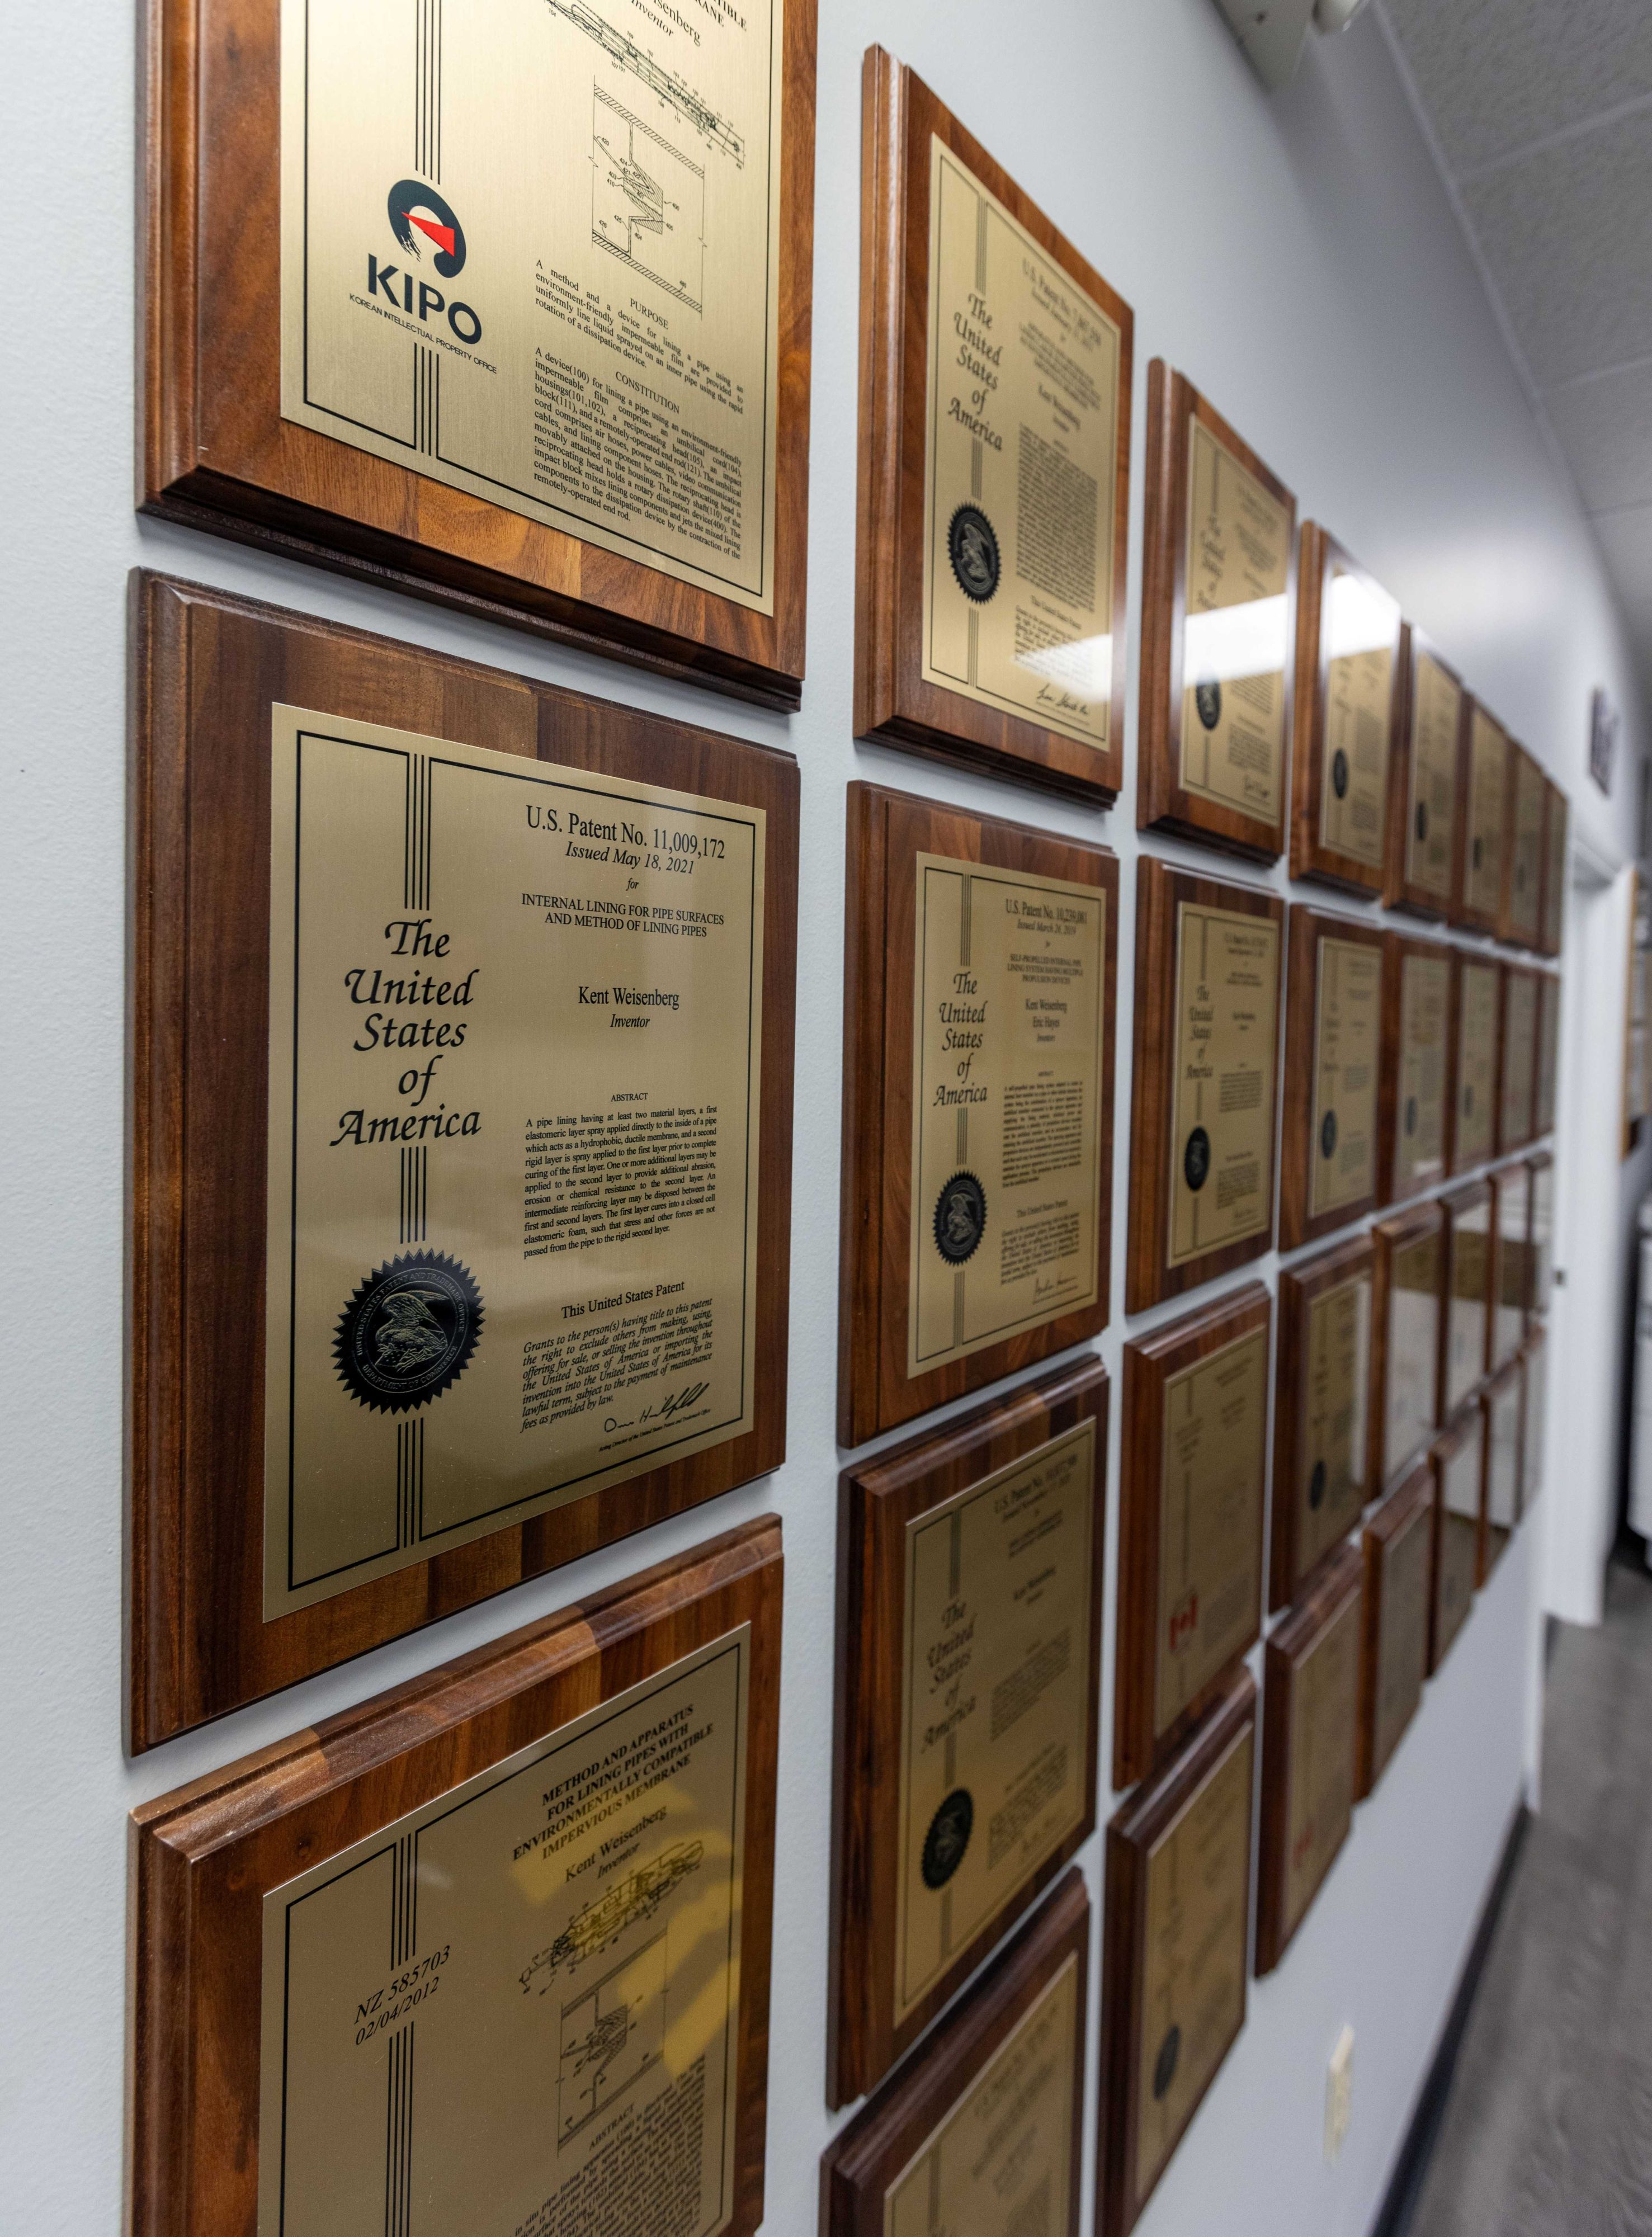
If you've got an idea for a metal part, the gap between "I think this could work" and holding a part in your hand can feel wide. At BD Manufacturing, we've crossed that gap ourselves — our team spent years developing and patenting pipe lining and rehabilitation technology before we ever opened a machine shop, and that process taught us more about prototyping than any textbook could. Here's the process we'd walk you through if you brought us an idea tomorrow.
The Process7 Steps to Prototyping a Metal Part
Start With the Problem, Not the Part
Before anything gets drawn or machined, get specific about what the part actually needs to do — the load it carries, the environment it lives in, how it connects to everything around it. The clearer this is up front, the fewer expensive surprises show up in revision two.
Pick a First-Prototype Material
Your prototype material doesn't have to be your final material. Aluminum machines fast and cheap and is great for proving out fit and function, even if the production part will end up in stainless or a tougher alloy. Save the expensive, harder-to-machine material for once the design is locked.
Get It Into a Machinable Format
A full CAD model is ideal — STEP, DWG, DXF, whatever you've got — but it's not required to get started. A hand sketch with rough dimensions, or even an existing part you need replicated or improved, is often enough for a first pass. The goal of prototype #1 usually isn't perfection; it's something you can hold and test against reality.
Machine a Single Prototype — Not a Production Run
This is where a lot of first-time inventors get stuck: many shops want minimum order quantities that don't make sense for a part that might change next week. Look for a shop that will run a single piece without a minimum. You're paying for speed and flexibility at this stage, not economy of scale.
Test It, Measure It, and Be Honest About What's Wrong
Put the part through whatever it's actually going to face — assembly, load, fit, whatever matters. Most first prototypes reveal at least one thing that needs to change. That's not a failure; that's the entire point of prototyping before you commit to production tooling or a full run.
Expect Revision 2 (and Maybe 3)
Few good parts survive first contact with reality unchanged. A shop that treats your second and third revisions as routine — rather than a hassle — is one that understands iterative design. Quick-turn revisions are often more valuable than the first prototype itself.
Bridge to Production
Once a revision checks every box, the smartest move is staying with the same shop that built your prototypes. They already know your part's history, your tolerances, and why you made the design choices you did — which means fewer surprises scaling from one part to fifty or five hundred.
A Few Mistakes to Avoid
- Over-speccing tolerances on prototype #1. Tight tolerances cost time and money — save them for the design you've already validated. See our tolerance guide for what's actually reasonable.
- Skipping DFM feedback. A quick conversation about manufacturability before cutting metal can save a whole revision cycle.
- Treating the prototype shop and the production shop as two different vendors. Switching shops between prototype and production often means re-explaining everything from scratch.
Why It Matters to Us
Our shop's roots are in invention, not just machining — our team holds issued U.S. and international patents for pipe lining and rehabilitation technology we designed and proved out ourselves, through exactly this kind of iterative process. That's the mindset behind our prototype manufacturing services in Jacksonville, FL: we're not just running a CNC program, we're helping you get to the next revision.
See it for yourself. Our project gallery includes one-off custom work — from custom shop signage to prototype components — built exactly the way this guide describes: single piece, iterated until it was right.
Have an idea you're ready to prototype? Get in touch and let's talk about your part.